Knoy 202: Getting Started
Knoy 202: Getting Started
There is in-depth documentation available at /ECN/Support/KB/Docs/Knoy202GettingStarted/KNOY202_Complete_rev1.3.pdf (updated 2018-10-22).
To use any audiovisual or computer gear in the Knoy 202 Dean's Conference Room (including the videoconference camera, desktop computer, two laptop connections, DVD player, and two large video displays), begin with the procedures on this page.
Then proceed with the supplemental procedures specific to each component.
How to use the Crestron display to setup your meeting
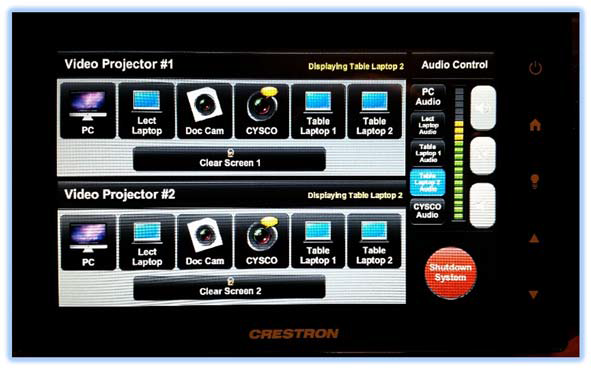
Video Projector #1 = Left TV
Video Projector #2 = Right TV
You will next need to select what device you will display for each TV:
 This displays the PC at the podium
 This displays a laptop using the cables at the podium
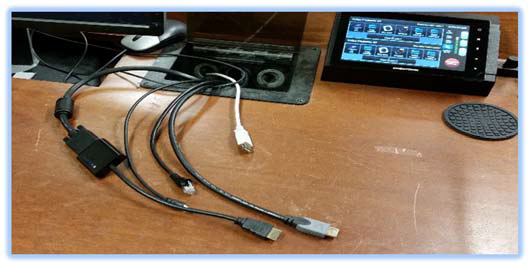
 This displays the document camera that is used to project physical documents and objects
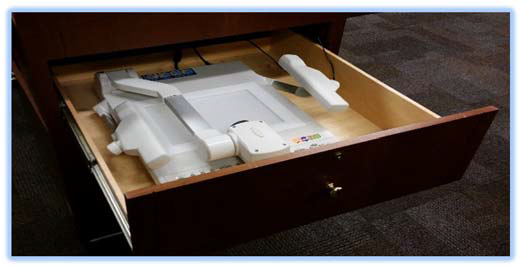
 This displays the Cisco system for Webex video conferencing
Must be scheduled first through the Cisco Smart Scheduler
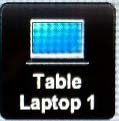 This displays a laptop using the cables from the Table 1 input
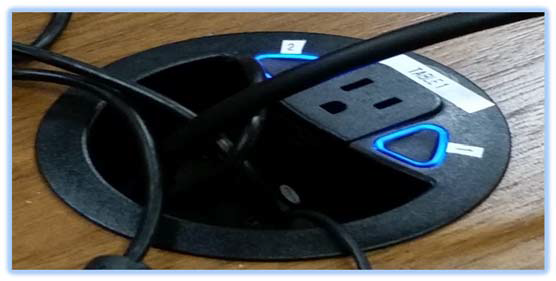
 This displays a laptop using the cables from the Table 2 input

 Once you are finished, this will shut down the system
Device-specific instructions
To continue, please follow the links below for device-specific instructions: [These links will be activated as the new documents are completed -- ECN, April 2011]
- Videoconference
- Conference call (audio only)
- Blue Jeans conference
- Using a laptop
- Using the podium desktop PC
- Using the document camera
- Using the DVD player
Last modified: 2018/10/22 16:39:20.263308 GMT-4 by
oesten.e.nelson.1
Created: 2011/04/08 15:01:32.153000 GMT-4 by john.a.omalley.1.